
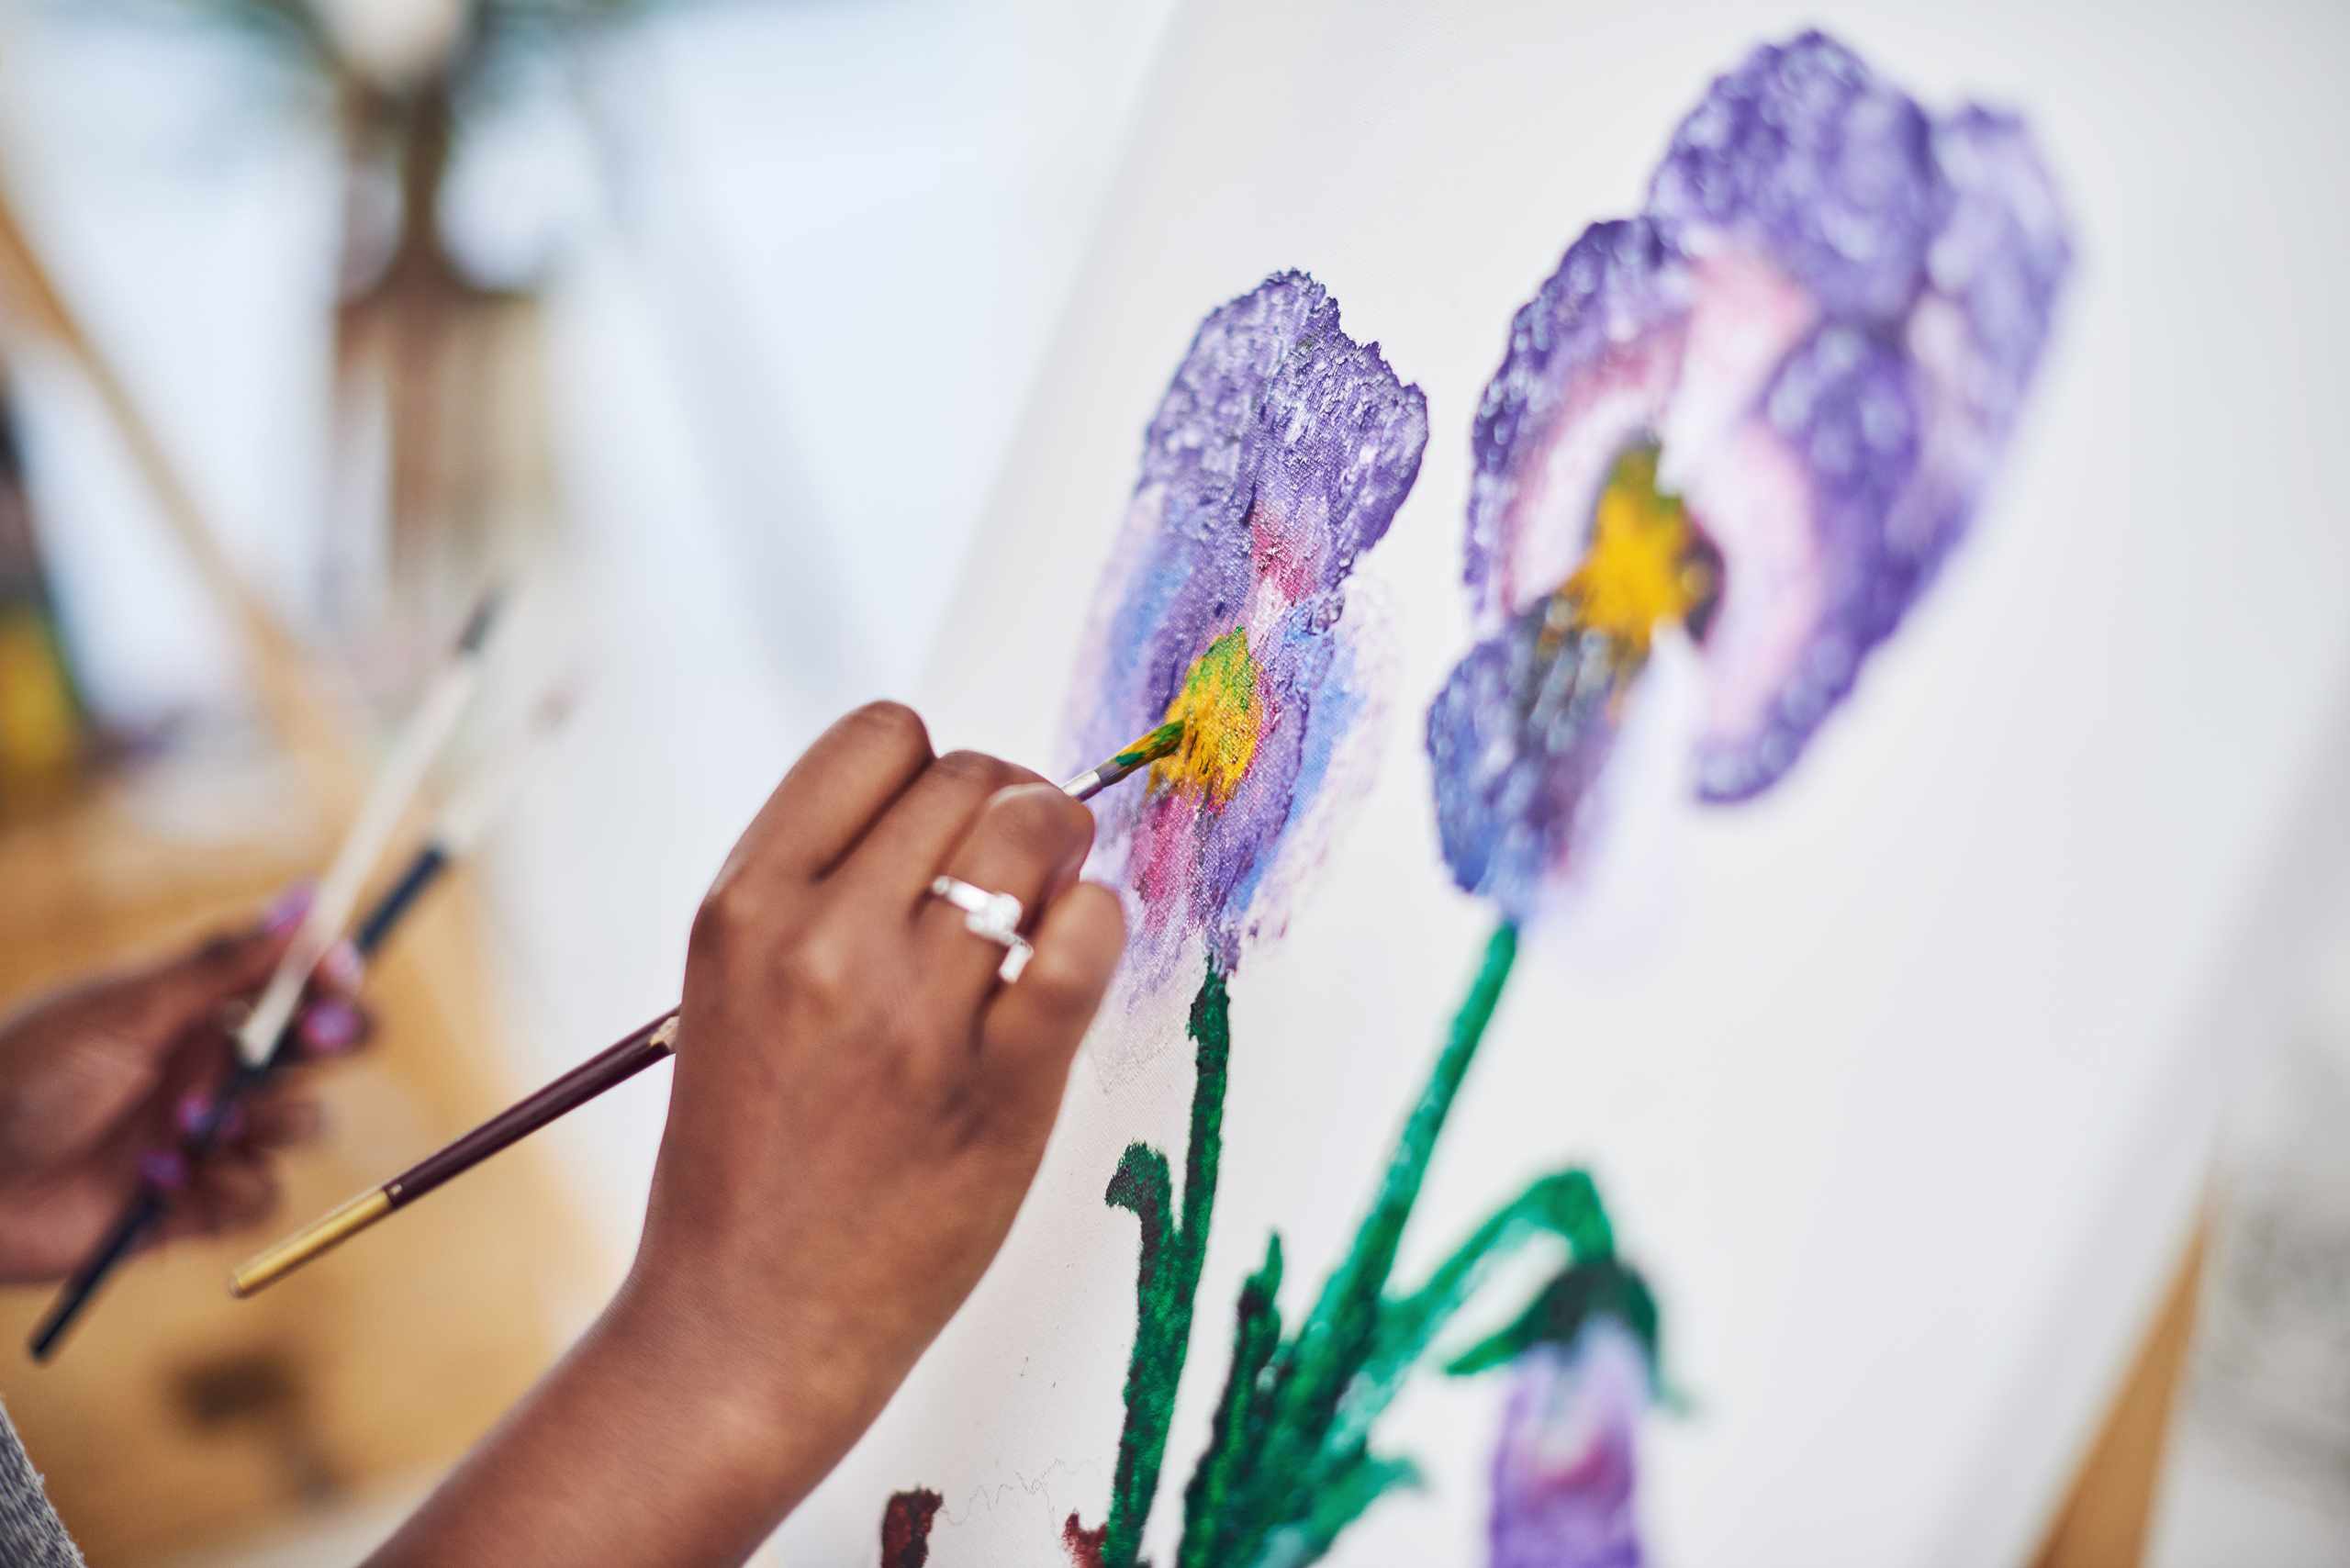
How to Practice Simple Leaves Before Painting a Full Botanical Motif
A painted leaf can look surprisingly complicated when you try to fix everything at once. The tip may be too blunt, one side may be wider than the other, or the stroke may lose paint halfway through. Those problems become harder to understand once the leaf is surrounded by petals, stems, and other decorative elements. Practicing the leaf by itself removes that distraction and makes brush pressure, angle, and paint coverage much easier to judge.
For a basic decorative leaf, think about the shape as one controlled movement rather than a tiny drawing that needs to be filled in afterward. With a round or flat brush, touch the surface lightly where the leaf begins, increase pressure to widen the middle, then gradually release as you approach the tip. The brush should leave the surface with less pressure than it had at the widest point. A smooth change in pressure usually creates a cleaner taper than trying to sharpen the tip with extra paint.
The direction of the brush matters just as much as pressure. If you twist the handle or change the brush angle suddenly, one side of the leaf can become heavy while the other stays narrow. Keep the movement simple at first. Pull the stroke in a straight or gently curved direction and watch how the bristles spread. Once that movement feels predictable, you can introduce more curved leaves without losing control of the basic shape.
Set aside a small practice panel and paint a row of leaves with space between them. Use the same brush, paint consistency, and approximate amount of paint for each attempt. Instead of trying to make every leaf perfect, change one detail at a time. On one row, pay attention to the pressure through the middle. On another, focus on tapering the tip. Then try a row where every leaf begins at the same angle. Comparing the rows makes it easier to see whether uneven shapes come from loading, pressure, direction, or spacing.
Paint consistency can quickly change the result. If the paint is too thick, the brush may drag and leave rough edges. If it is too watery, the leaf may spread past the intended shape and lose a clean outline. Test a few strokes before continuing a longer row. A successful leaf should have even coverage without a heavy ridge of paint along the edges. If repeated corrections are needed while the paint is still wet, it is usually better to leave that leaf alone and adjust the next one instead.
Once your isolated leaves begin to look more consistent, combine three or four around a simple stem or curved line. Leave enough negative space so the shapes do not merge into one heavy mass. This is the point where individual stroke control starts becoming composition. Before attempting a larger botanical motif, paint one small cluster and check whether the leaf sizes, angles, and spacing work together. If the cluster reads clearly without extra outlines or heavy correction, the basic leaf practice has already done most of its job.